Before terminal-resident AI agents were introduced, developers wanting to leverage large language models (LLMs) had to deal with highly disjointed workflows. Typical code-generation loops required:
- Constant Context Switching: Moving continuously between the IDE, the terminal, and a browser-based chat window.
- Manual File Management: Copy-pasting massive chunks of code, manually tracking line diffs, and executing file writes.
- Out-of-Sync Environment State: The AI lacked real-time visibility into whether the generated code successfully compiled, run-time logs, or unit-test outcomes.
- Inefficient Dependency Auditing: Finding security alerts or deprecation warnings meant feeding terminal outputs to the chat window one command at a time.
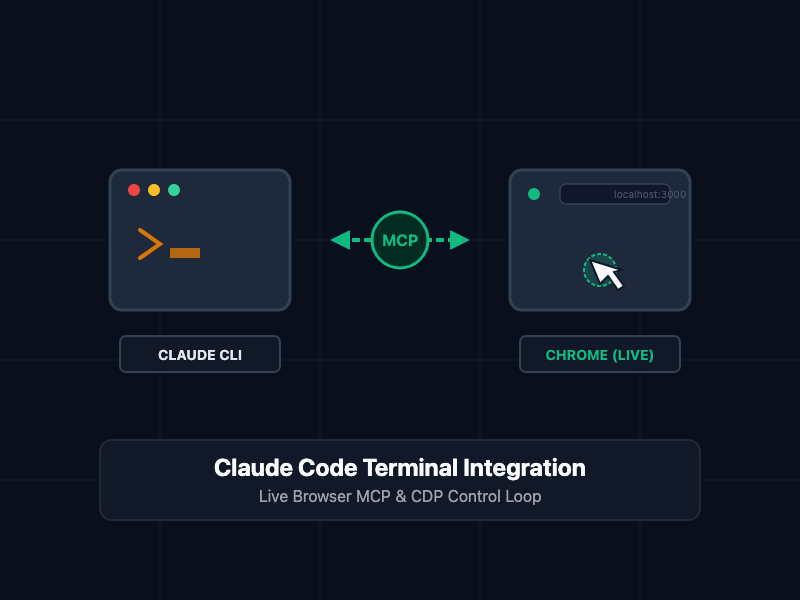
Claude Code solves these limitations by running directly inside your terminal. It acts as an interactive partner that not only generates code but executes tests, inspects command-line output, manages Git state, and applies complex multi-file refactorings safely on your local machine with human-in-the-loop confirmation.
What Is Claude Code?
Claude Code, developed by Anthropic, is a state-of-the-art developer CLI agent. Rather than functioning as a standard autocomplete extension, Claude Code operates as a terminal-based agent utilizing tool-calling architectures. You interact with it by speaking in plain text, and it decides which tools—such as file reader, writer, recursive file searcher, or bash command execution—it needs to invoke to satisfy your request.
By linking directly to your Anthropic billing account or API keys, Claude Code runs local terminal queries, compiles packages, runs test frameworks, and outputs clear, structured git diffs.
Core Concepts
Interactive CLI Shell
To launch Claude Code, you simply execute the binary from your project's root folder. This opens an interactive session where Claude Code evaluates your workspace file tree, reads your local configuration files, and stands ready to receive instructions.
# Initialize Claude Code in your current repository
claude
The Permission Framework
Safety is paramount when running an agentic CLI tool. Claude Code uses a secure permission loop. Every time it determines it needs to edit a file, run a bash shell script, or query an external API, it prompts you for explicit permission. You can approve individual actions, deny them, or grant blanket permissions for specific non-destructive operations.
Claude wants to run the following bash command:
$ npm run test:unit

[Y] Approve  [N] Deny  [A] Approve all for this session  [Q] Quit
Project Ignore Lists
To prevent Claude Code from consuming excess tokens indexing irrelevant logs, build artifacts, or internal database directories, you can define specific exclusion rules. By placing a .claudecodeignore file in the root directory, you dictate exactly what files the CLI agent cannot read.
# .claudecodeignore
node_modules/
dist/
build/
*.log
.git/
pnpm-lock.yaml
package-lock.json
The Claude Code Workflow
Integrating Claude Code into your day-to-day workflow typically involves three steps:
1. Context Initiation
Navigate to your repository and initialize the agent. Claude Code reviews your active Git branch, checks for modified files, and parses your language runtime (such as Node.js, Python, or Rust).
2. Goal Prompting
Provide clear, task-oriented commands. Avoid vague prompts; specify the target outcome and the validation criteria:
claude "Fix the edge case in utils/auth.js where token expiration throws an unhandled exception, then run unit tests to verify the fix."
3. Review and Commit
Claude Code evaluates the project structure, reads utils/auth.js, writes the corrected logic, and runs npm test. It will display the file differences and ask if you wish to commit the modifications directly using its git integration tool.
Best Practices
- Create a Detailed .claudecodeignore File: Block heavy configuration lockfiles, environment folders, and static media to drastically reduce context window usage and lower API costs.
- Provide Explicit Executables: When instructing Claude to run tests, provide the exact testing command (e.g., npm run test -- --grep "auth") to limit execution runtime.
- Maintain Modular Architectures: Break down complex programming goals into smaller, logical sub-tasks. Rather than asking the agent to "write a full server," ask it to "create the authentication middleware file first."
- Audit Diff Outputs Carefully: Review every proposed file diff in your terminal before accepting and writing the data to disk.
- Configure Session Budgets: Utilize rate limits or spending limits inside your Anthropic Developer Console to prevent unexpected cost run-ups during heavy debugging sessions.
Getting Started
To get started, install Claude Code via your global Node package manager, authenticate with your Anthropic Developer account, and run your first interactive agent prompt.
# Step 1: Install the CLI globally
npm install -g @anthropic-ai/claude-code

# Step 2: Run the login process to authorize the tool via OAuth
claude login

# Step 3: Run the initial doctor check to ensure all dependencies are resolved
claude doctor

# Step 4: Start developing in your active directory
claude "Refactor index.js to use async/await syntax and verify"
Within moments, you will have a fully functional, terminal-resident developer agent capable of automating routine debugging and coding cycles, turning manual processes into automated, auditable engineering tasks.